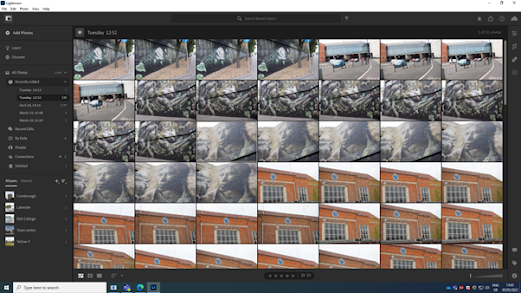
Using Adobe Lightroom I organised my images based off my most successful images, which were rated 5 stars, and my least favourite, 1 star. These images that are rated a 5 star, I believe represent and meet the client brief 'beautiful doncaster'. This image shows evidence of me rating my images. I then put all my 5 star and some 4 star images into different albums, with their appropriate names so I knew what images are for what and so I can clearly know where my images are saved on the software. Final Images How I edited this my images: This image shows how I have cropped the image to take out the post, as well as the path at the right of the image. In the images above it shows how I have added a mask to my to the whole image and turned down the shadows and exposure, then I increased the highlights to show the contrast of shades in the image. In this screenshot it shows that I have used the brush tool to put a mask over everything but the poppies. You can also then see I tur...


Comments
Post a Comment